1. bug修改

之前的代码中留下了一个bug,在app.c中,通过sys_gettime的系统调用来获取时间,这里是有问题的,从内核返回的值不知道为啥不对,问题出在syscall函数上,以前的写法是:

size_t syscall(size_t id, uintptr_t arg1, uintptr_t arg2, uintptr_t arg3) {
long ret;
asm volatile (
"mv a7, %1\n\t" // Move syscall id to a0 register
"mv a0, %2\n\t" // Move args[0] to a1 register
"mv a1, %3\n\t" // Move args[1] to a2 register
"mv a2, %4\n\t" // Move args[2] to a3 register
"ecall\n\t" // Perform syscall
"mv %0, a0" // Move return value to 'ret' variable
: "=r" (ret)
: "r" (id), "r" (arg1), "r" (arg2), "r" (arg3)
: "a7", "a0", "a1", "a2", "memory"
);
return ret;
}

不知道为啥这样写就有问题,好像这个ret定义了就会导致返回的值不对,从内核返回的值是放在a0寄存器中,把上面的代码替换了一下:

uint64_t syscall(size_t id, reg_t arg1, reg_t arg2, reg_t arg3) {

register uintptr_t a0 asm ("a0") = (uintptr_t)(arg1);
register uintptr_t a1 asm ("a1") = (uintptr_t)(arg2);
register uintptr_t a2 asm ("a2") = (uintptr_t)(arg3);
register uintptr_t a7 asm ("a7") = (uintptr_t)(id);

asm volatile ("ecall"
: "+r" (a0)
: "r" (a1), "r" (a2), "r" (a7)
: "memory");
return a0;
}

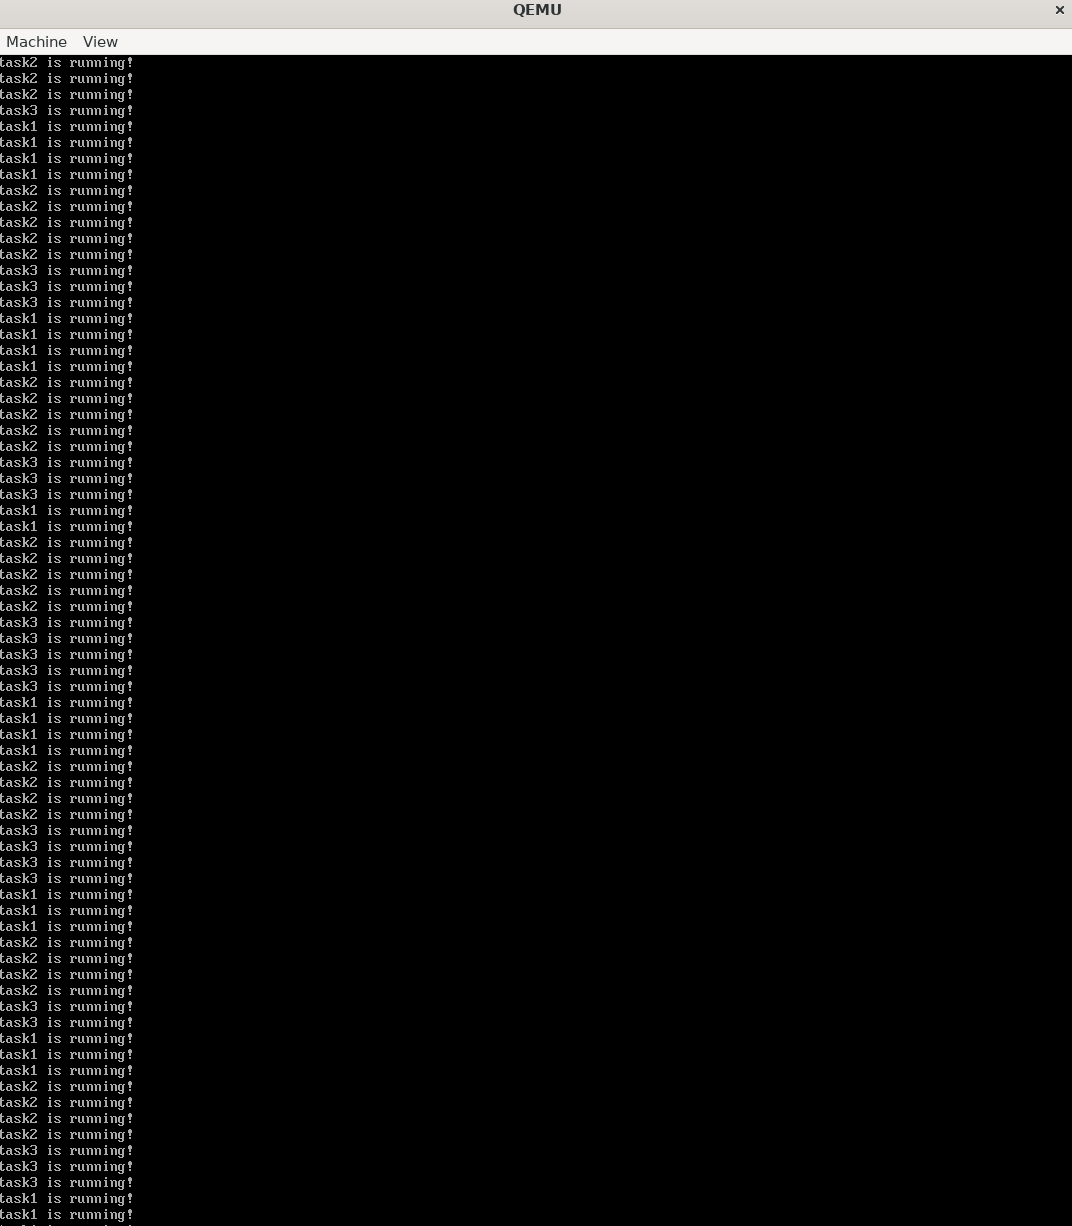
这样内核的返回值就没问题了,来测试一下sys_gettime()系统调用,在task3中调用:

void task3()
{
const char *message = "task3 is running!\n";
int len = strlen(message);

uint64_t current_timer = 0;
uint64_t wait_for = current_timer + 500;
while (1)
{
current_timer = sys_gettime();
printf("current_timer:%d\n",current_timer);
}

}

GIFtime

时间打印成功,由于定时中断的分频系数被修改成了500,所以这里是以2us为单位返回时间。

2.开启调试功能

之前在调试内核的时候,我一直没使用gdb去调试程序,因为代码不算困难,我用printf去打印调试也花费不了太多时间,最近在倒腾mmu,我觉得有必要用gdb去调试了,再vscode中调试是非常方便的,当然也可以直接在终端中调试。

2.1 终端使用GDB调试

在os的makefile中添加调试选项:

  • 编译时需要生成调试信息,添加 -g的编译选项
CFLAGS = -nostdlib -fno-builtin -mcmodel=medany -g
  • 指定调试器,这里的调试器需要使用riscv编译工具链中提供的riscv64-unknown-elf-gdb,当然还有一个gdb-multiarch也是可以的,但是联合vscode时不知道为啥不能检测寄存器的值
GDB = riscv64-unknown-elf-gdb
  • 配置调试选项,新建一个gdbinit文件,gdb调试qemu程序时,需要将端口映射到1234
set disassemble-next-line on
b _start
target remote : 1234
c
  • 修改run.sh,添加如下选项就可启动调试了,此时qemu会作为gdb的服务端,端口号为1234

image-20230904195304055

  • 开启调试,这样make clean时不会删除os.elf文件,在启动qemu后就可通过make debug来开启调试了
.PHONY : debug
debug:
@echo "os debug start..."
@${GDB} os.elf -q -x ./gdbinit

.PHONY : clean
clean:
rm -rf *.o *.bin

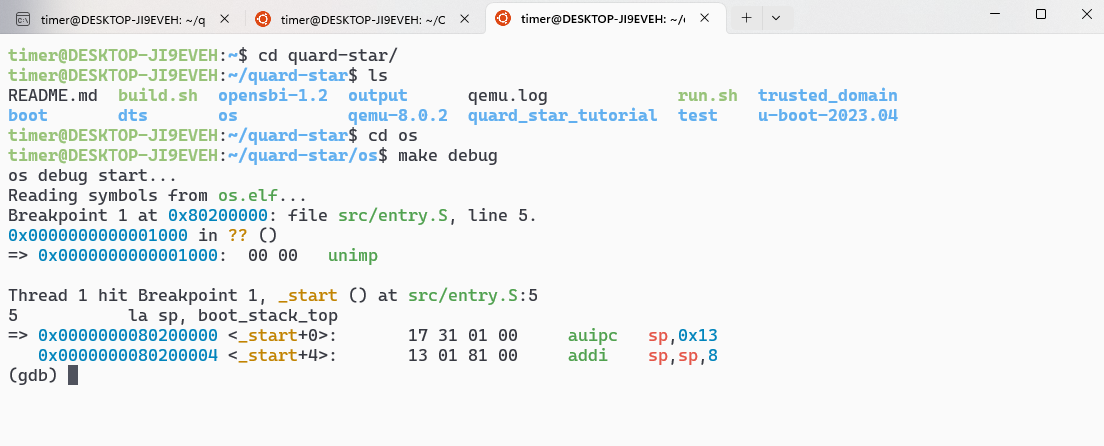
image-20230904195427526

这样就可以在终端中调试了。

2.2 GDB+Vscode调试

新建.vscode文件夹,在此文件夹中新建两个文件
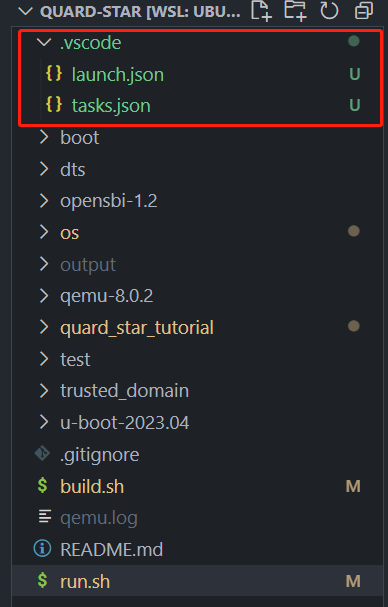
image-20230904195603498

  • launch.json,需要将调试器指定为riscv64-unknown-elf-gdb,需要指定为你自己电脑上的编译工具链的gdb的位置,然后调试的program指定为:os.elf
{
"version": "0.2.0",
"configurations": [
{
"name": "timeros - Build and debug kernel",
"type": "cppdbg",
"request": "launch",
"program": "${workspaceFolder}/os/os.elf",
"args": [],
"stopAtEntry": false,
"cwd": "${workspaceFolder}/os/src",
"environment": [],
"externalConsole": false,
"MIMode": "gdb",
"miDebuggerServerAddress": "localhost:1234",
"preLaunchTask": "build timeros",
"miDebuggerPath": "/home/timer/riscv/riscv64-elf/bin/riscv64-unknown-elf-gdb"
}
]
}
  • task.json就是用来运行build.sh
{
"tasks":[
{
"type": "shell",
"label": "build timeros",
"command": "${workspaceFolder}/build.sh ",
"detail": "Task generated by Debugger."
},
]
}

launch.json设置官方文档:Configure launch.json for C/C++ debugging in Visual Studio Code

tasks.json设置官方文档:Tasks in Visual Studio Code

launch.json文件是VSCode启动程序的配置文件,task.json就是用于定义前置任务。若在launch.json中指定了preLaunchTask参数,则会去执行task.json中指定的命令。

  • ${workspaceFolder}:项目文件夹在 VS Code 中打开的路径
  • ${file}:当前开打开(激活)的文件
  • ${relativeFile}:相对于 {workspaceFolder} 的文件路径
  • ${fileBasename}:当前打开文件的名称
  • ${fileBasenameNoExtension}:当前打开文件的名称,不带扩展名的
  • ${fileExtname}:当前打开文件的扩展名
  • ${fileDirname}:当前打开文件的文件夹名称

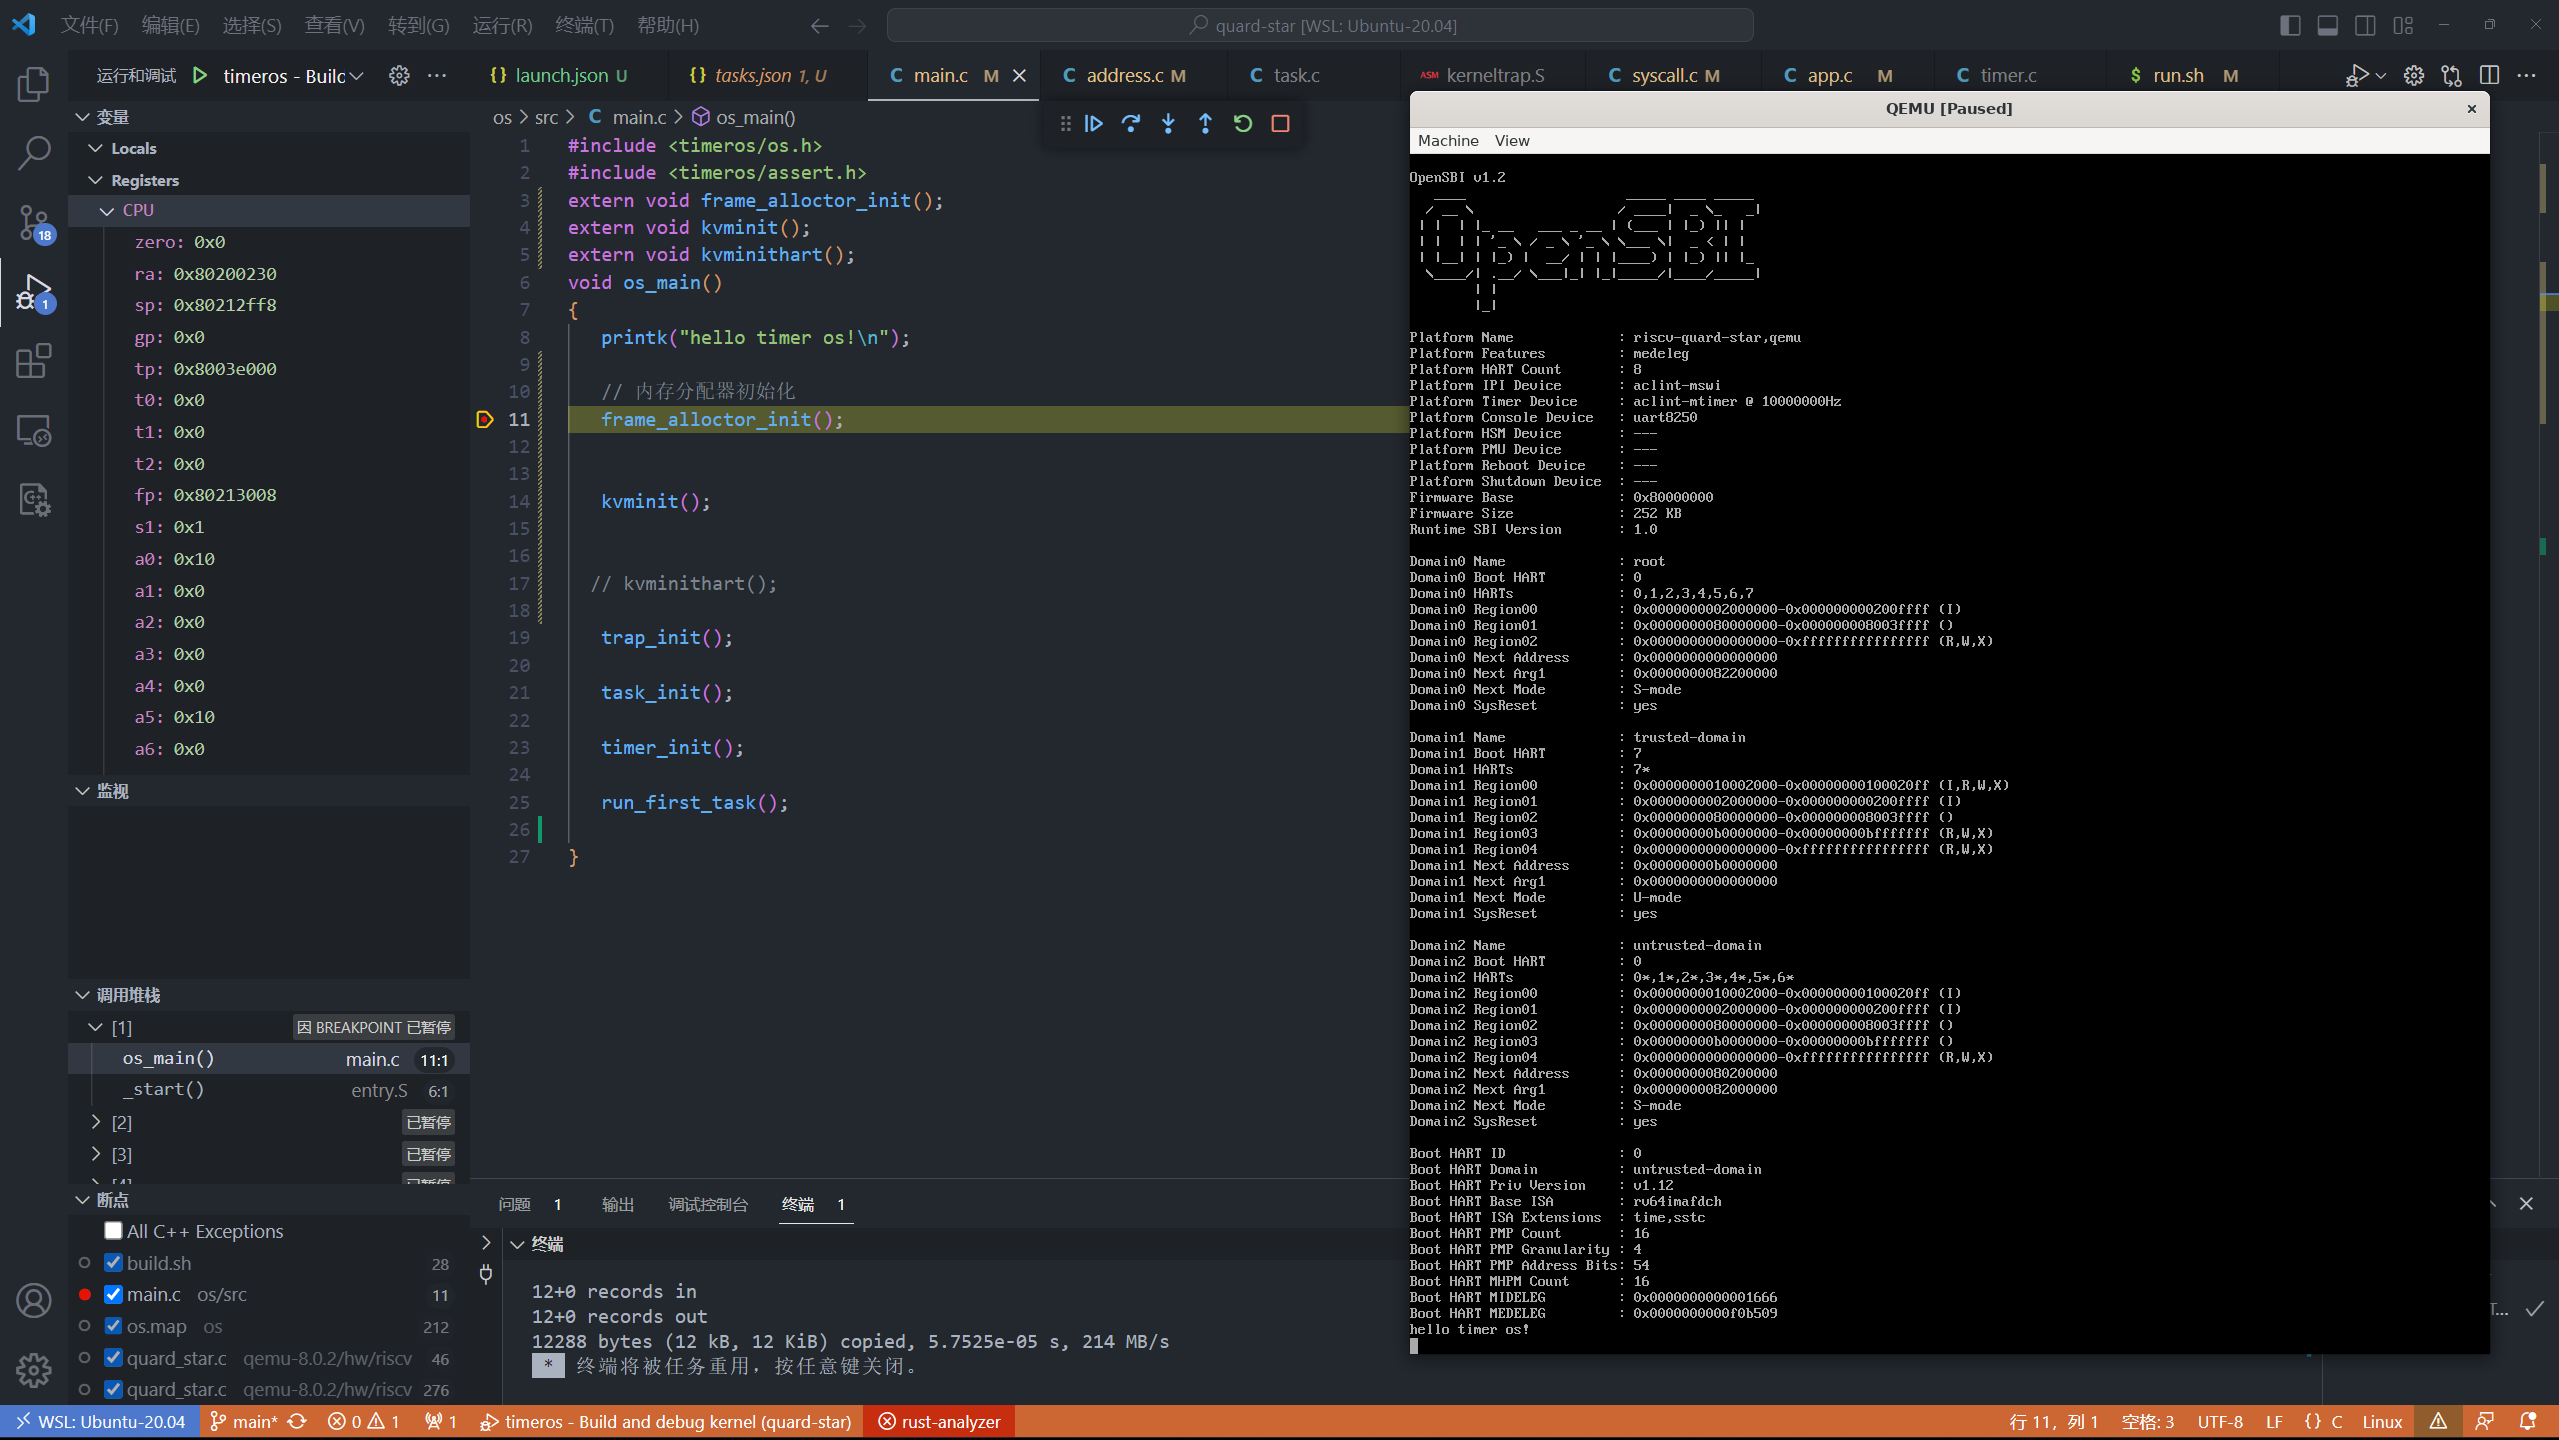
image-20230904200407996

这样就可以在vscode中调试内核了